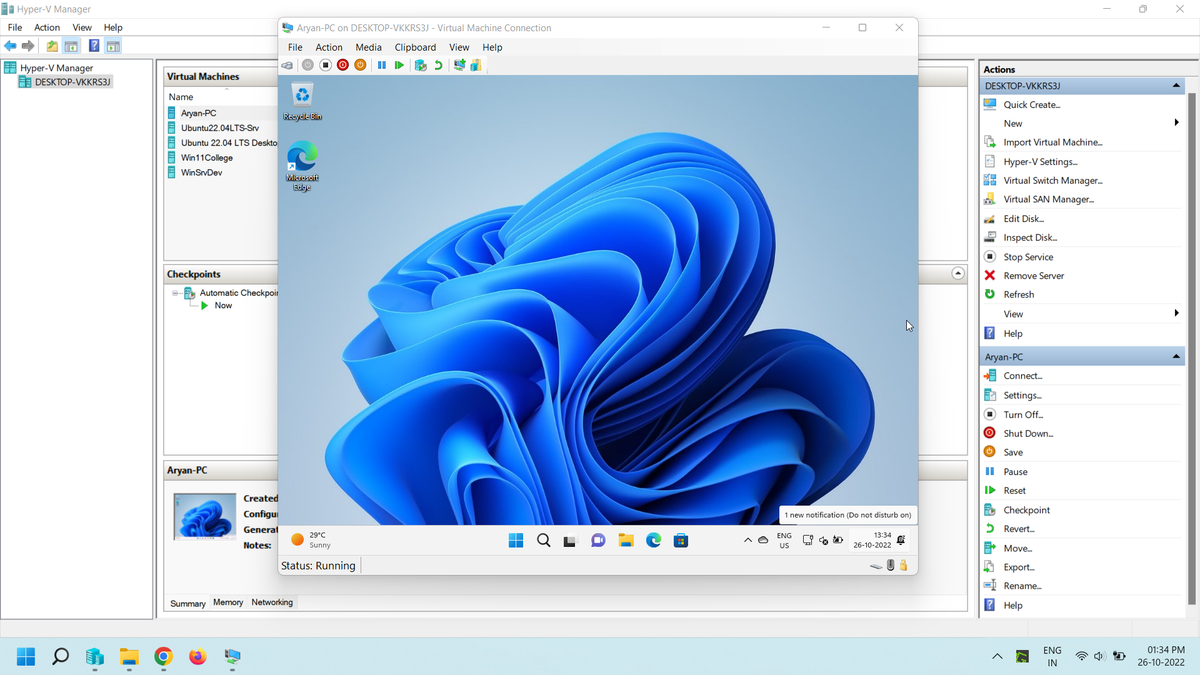
Installing Windows 11 Virtual Machine in Hyper-V
Windows 11 is the latest major release of Microsoft's Windows NToperating system, released in October 2021. It is a free upgrade to its predecessor, Windows 10 (2015), available for any Windows 10 devices that meet the new Windows 11 sy…
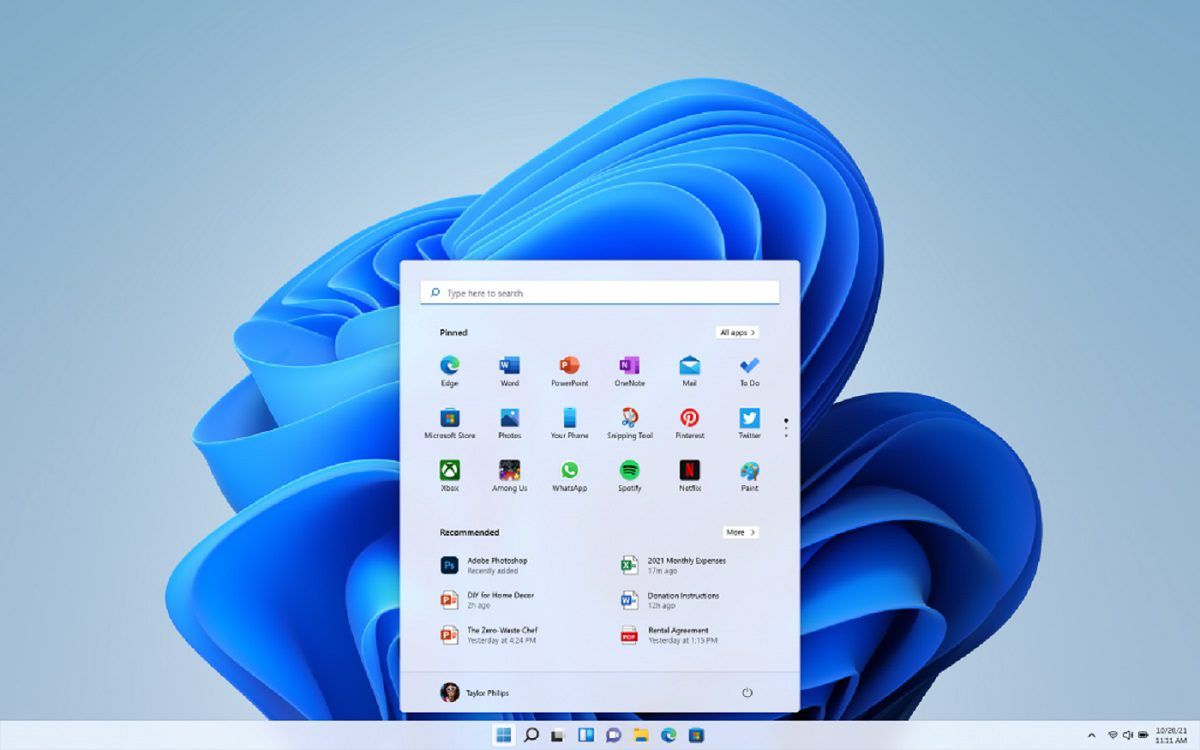
Windows 11 is the latest major release of Microsoft's Windows NToperating system, released in October 2021. It is a free upgrade to its predecessor, Windows 10 (2015), available for any Windows 10 devices that meet the new Windows 11 system requirements.The basic system requirements of Windows 11 differ significantly from Windows 10. Windows 11 only supports 64-bit systems such as those using an x86-64 or ARM64 processor; IA-32 processors are no longer supported.Step 1: Invoke Hyper-V ManagerLogin to Windows 11 as Administrator user.A normal user cannot see the ‘administrative tools’ menu.You need to search for the ‘Hyper-V Manager’ MMC Snippet and “Run As Administrator” by right clicking it.Step 2: Select Hyper V Node, Click “New”, then click on “Virtual Machine”
Article image
Original image reference
Once you select virtual machine the “new virtual machine wizard” would open up like so.
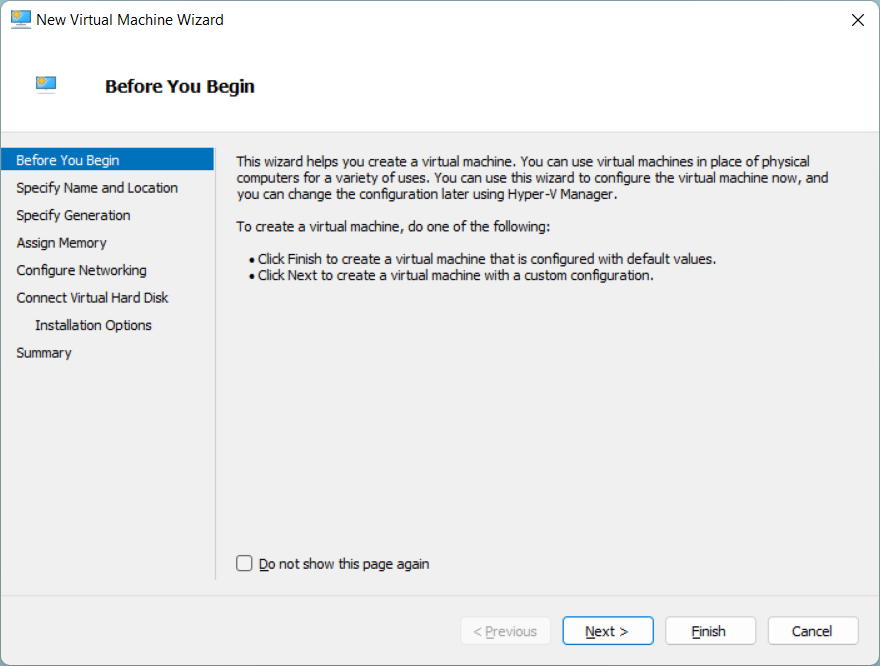
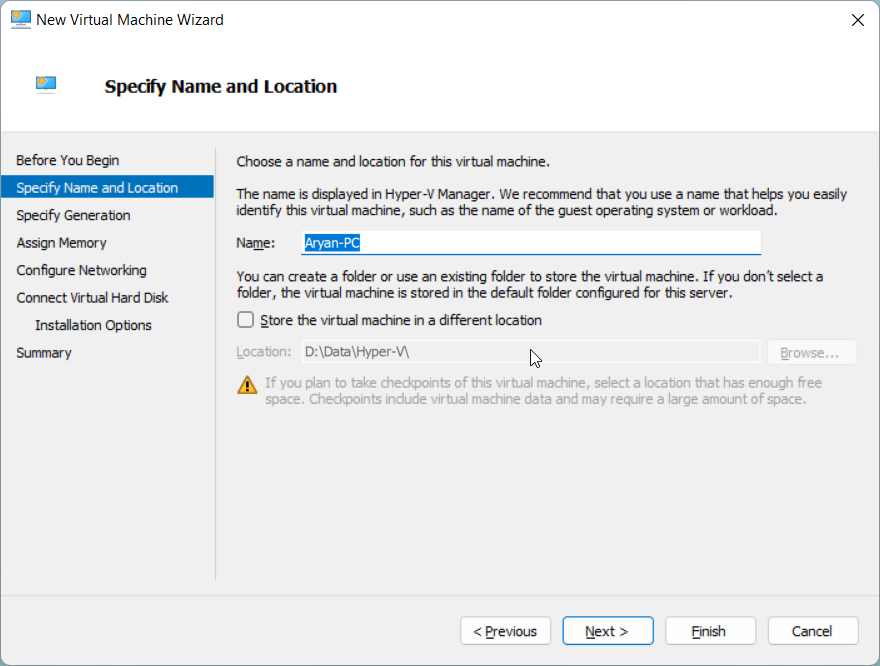
Click on next and then name your virtual machine.
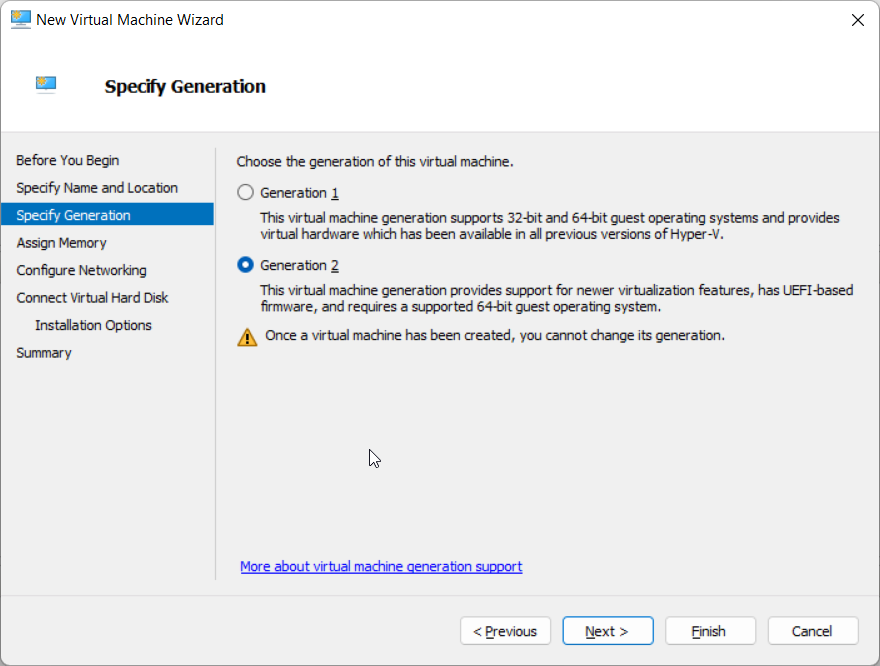
Generation 1 Virtual Machines support both 32-bit and 64-bit operating systems.However Windows 11 supports only 64-bit systems, so we would choose Generation 2.Note : The generation of the virtual machine cannot be changed later on.
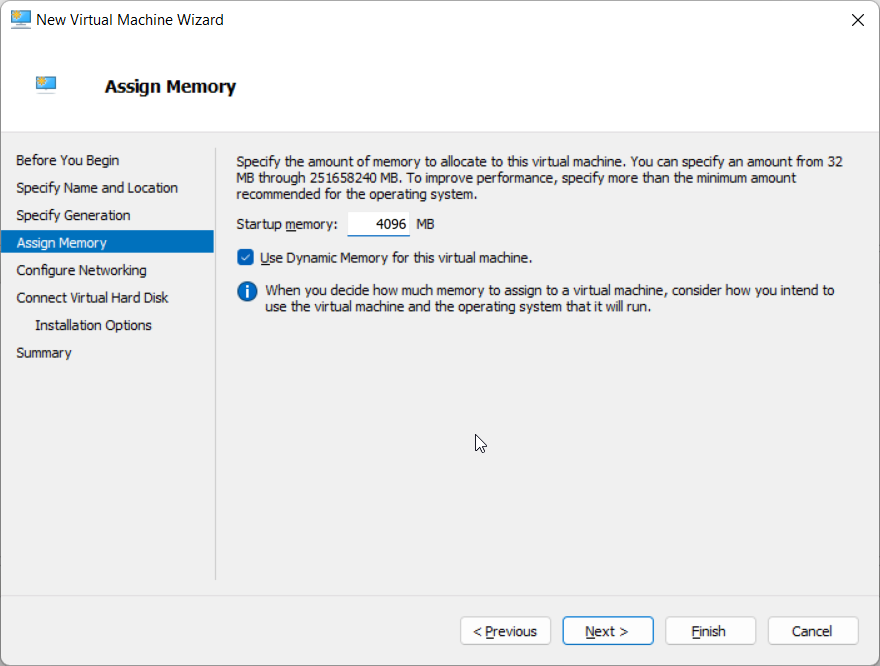
The default initial assigned startup memory would be 1024 MB, change that to 4096 MB, and click on next.
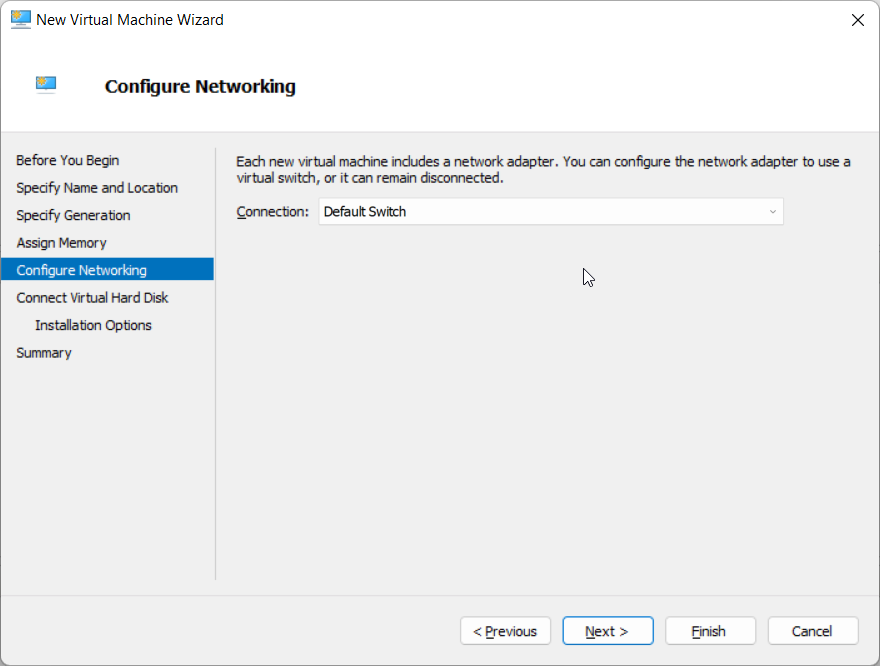
By default the network adapter is set to ‘not connected’; change the setting to ‘Default Switch’.
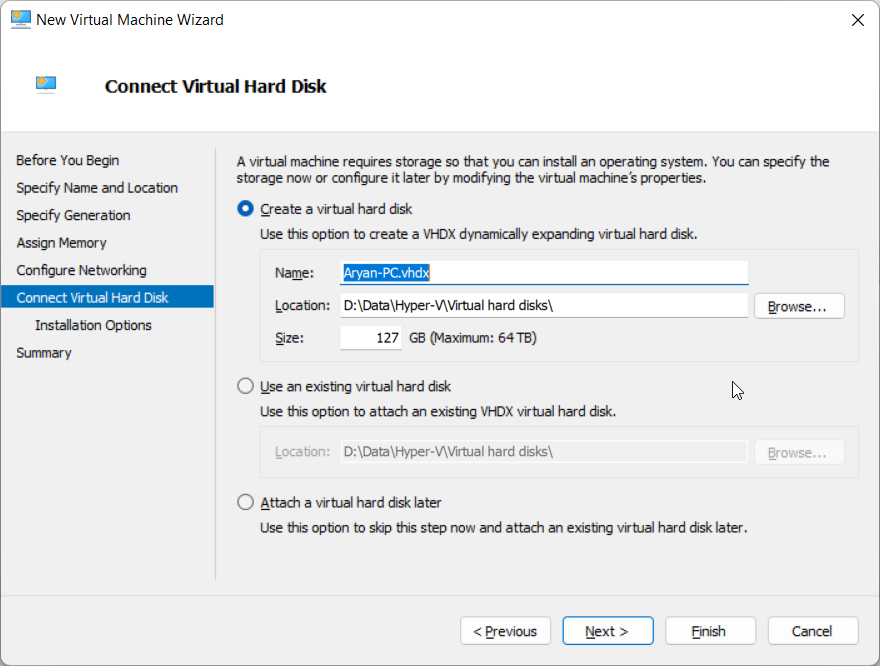
Here we have the option of connecting a virtual hard disk. If you have a pre-existing virtual hard disc you can choose the second option and specify its location. If you do not have a pre-existing virtual hard disc you can create a virtual hard disc. Simply specify its name, location and size.
Select 'Install an operating system from a bootable image file' and select the path of the image copy of windows 11 which you might already have installed on your computer.
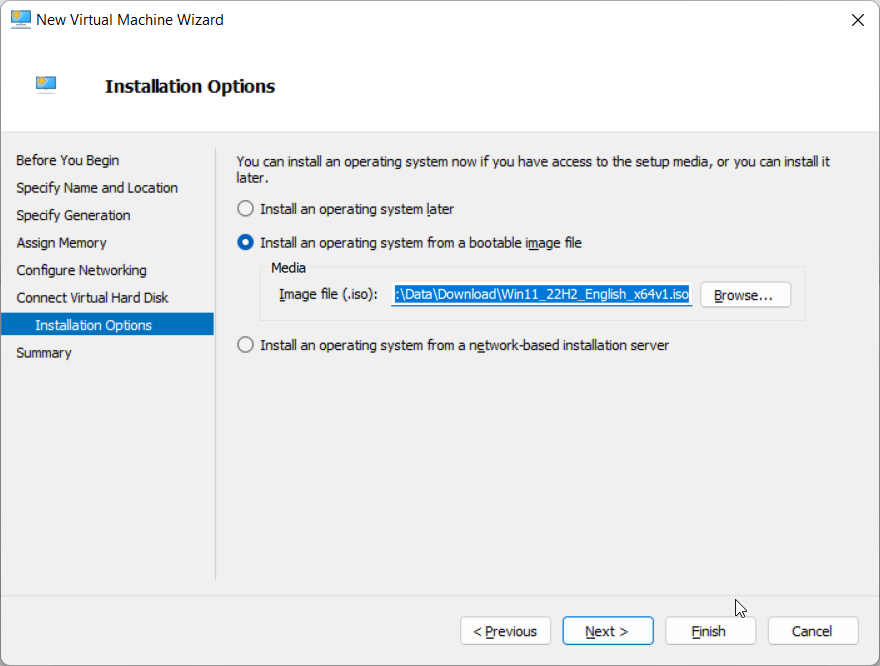
Click on finish to complete the VM setup.
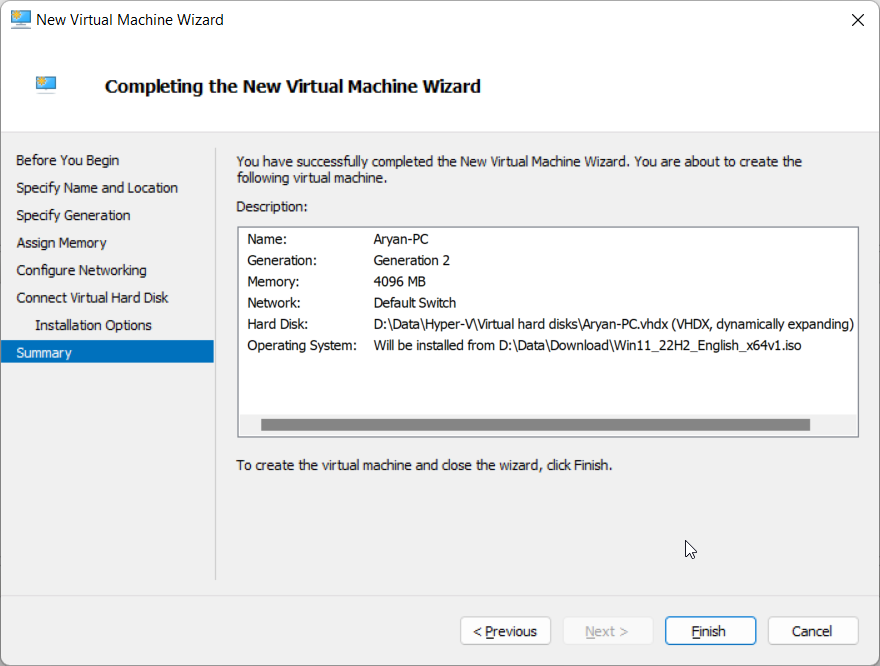
Step 3: Changing the Settings of our Virtual Machine Now right-click the virtual machine and click on settings. By default only 1 virtual processor is allocated for the virtual machine. You may increase it to whatever suits your needs. My PC has 20 virtual processors, so I allocated 4 to this VM.
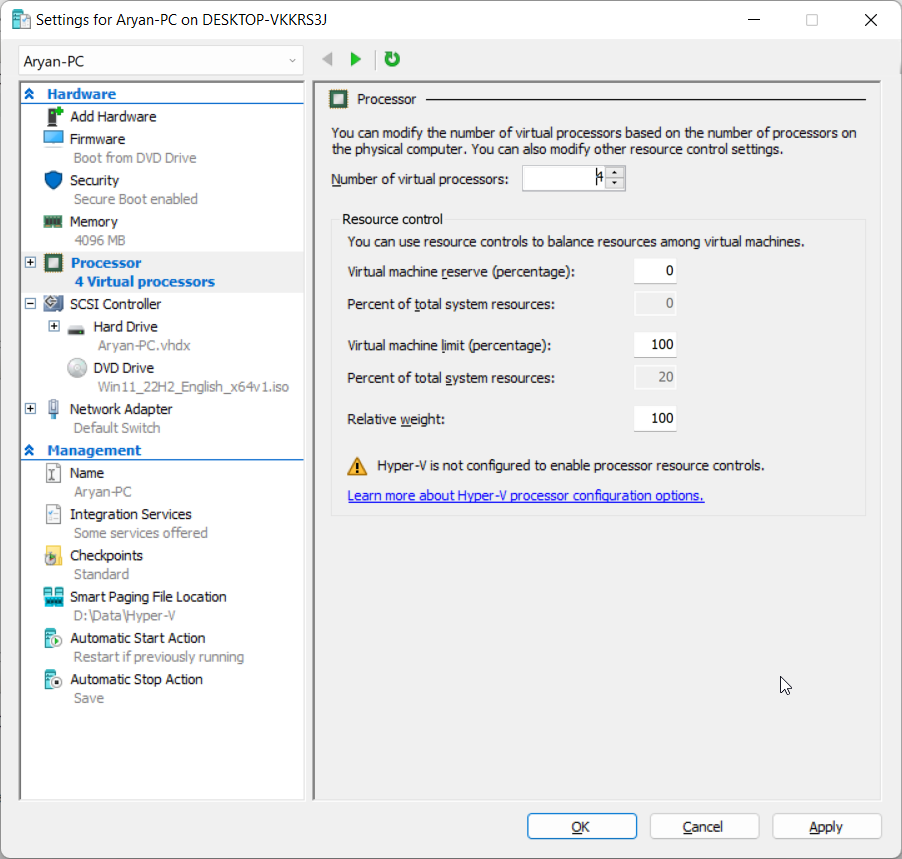
Click on Apply; then in the menu on the left side click on Security. In the Encryption Support check the first checkbox.
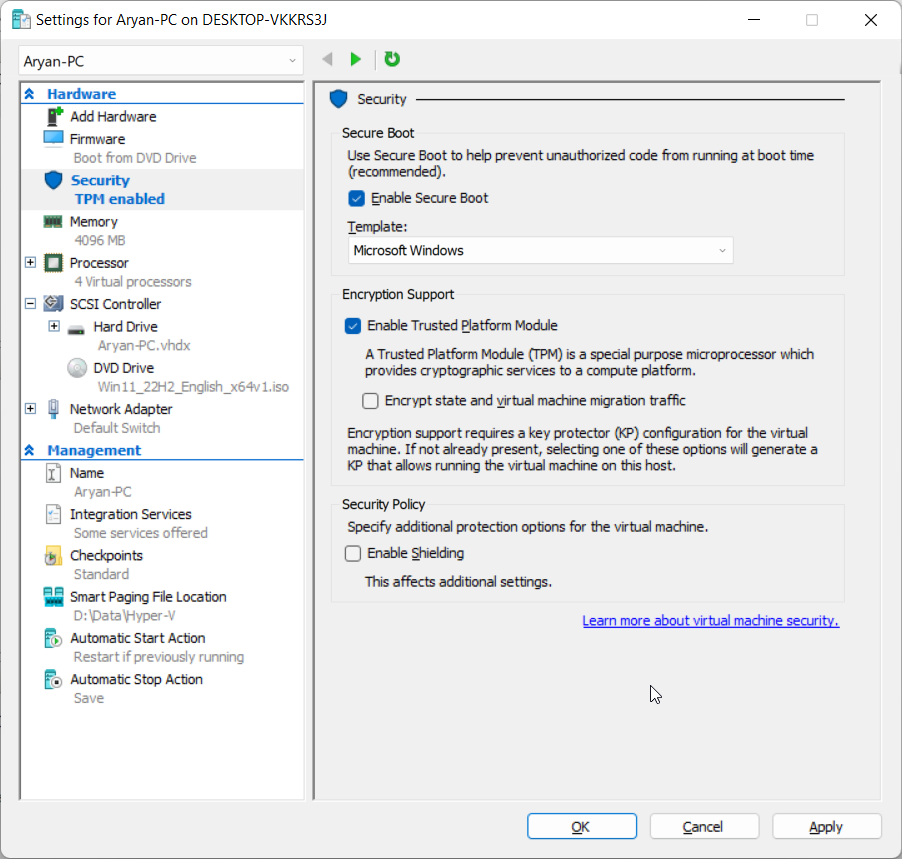
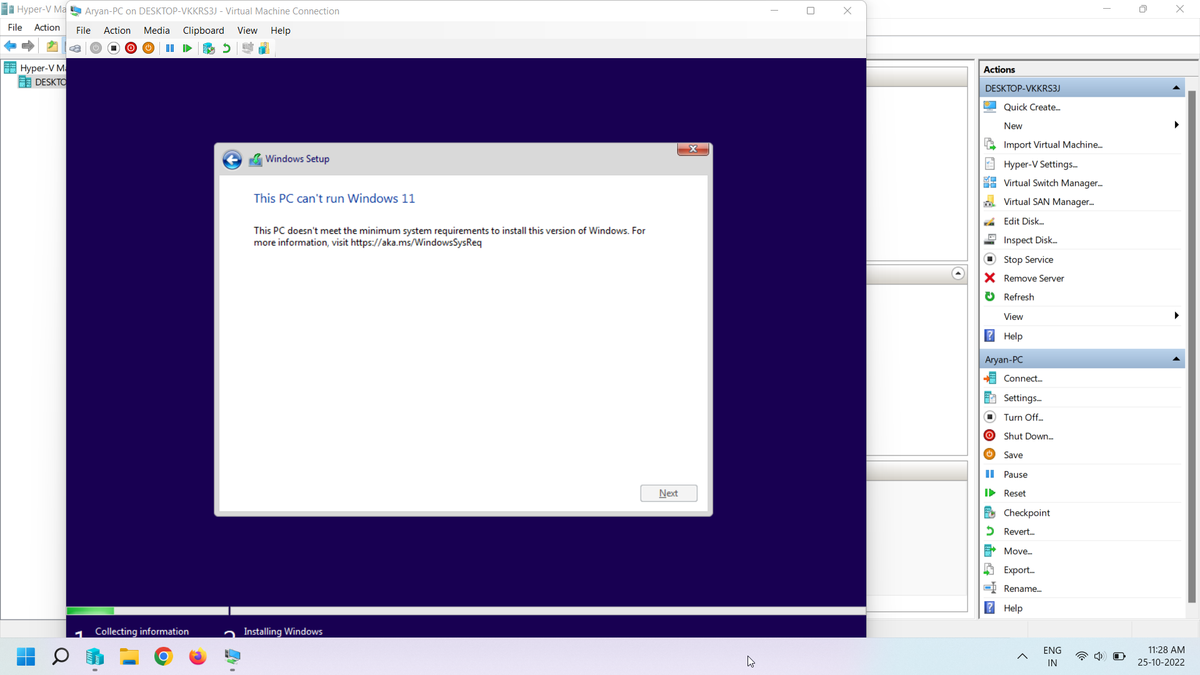
If this step is skipped, windows cannot be installed on your VM. You will get an error like this.
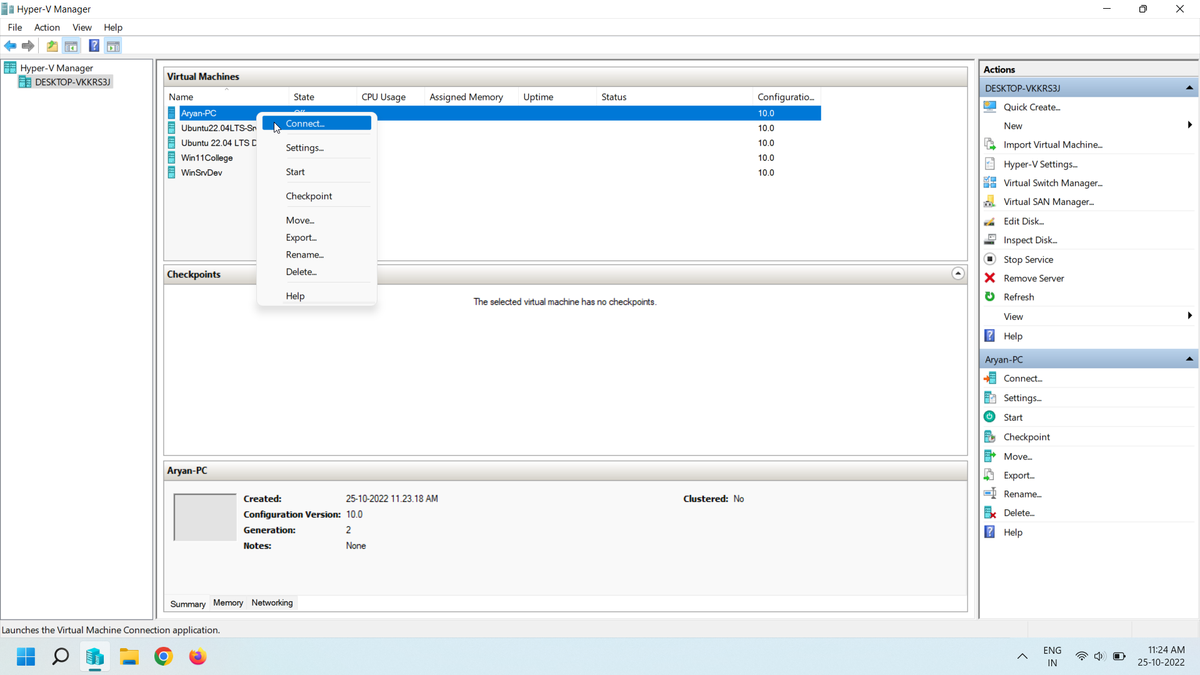
Step 4: Windows 11 setup on Virtual Machine Right-click the VM and click on connect, as shown below.
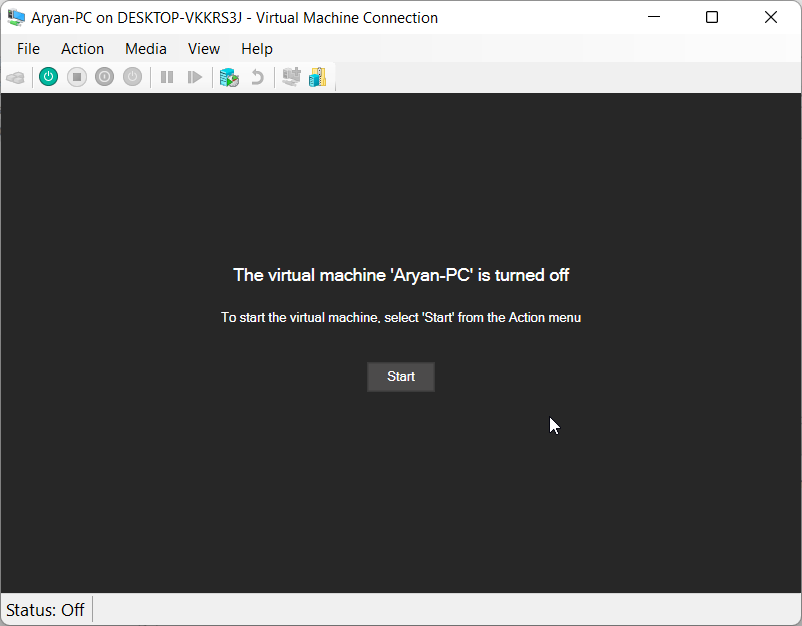
Once you click on connect, you will need to start your VM.
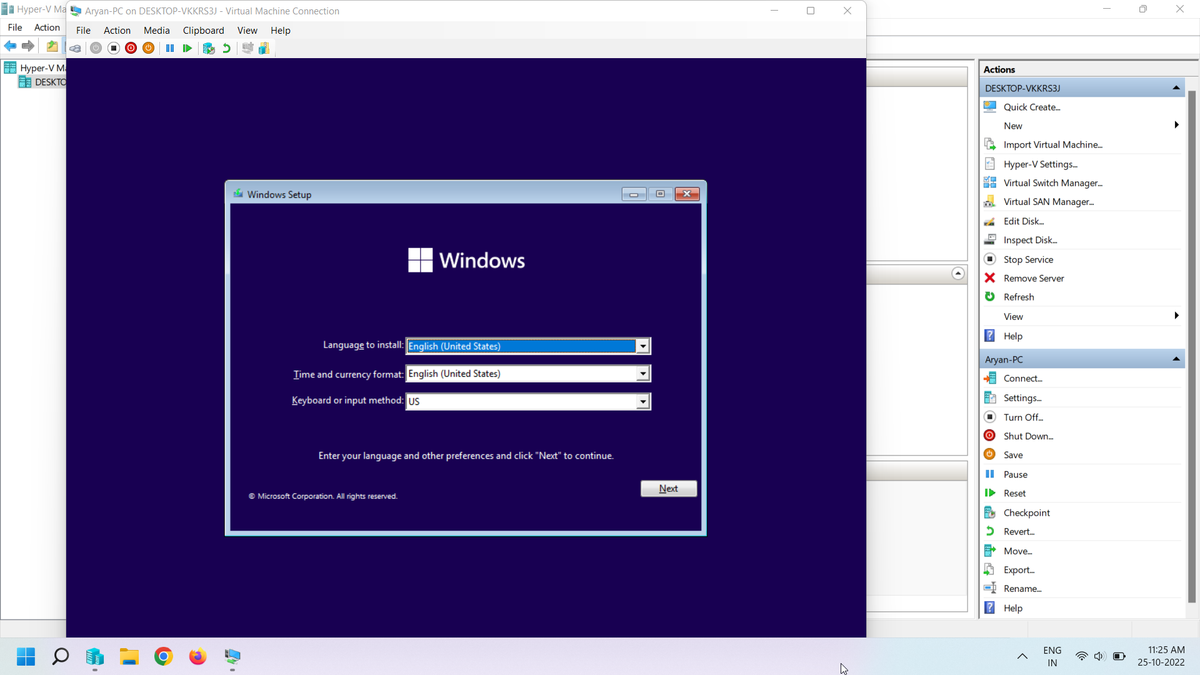
Based on your preferences select the options and click next.
Click on Install Now to install Windows 11.
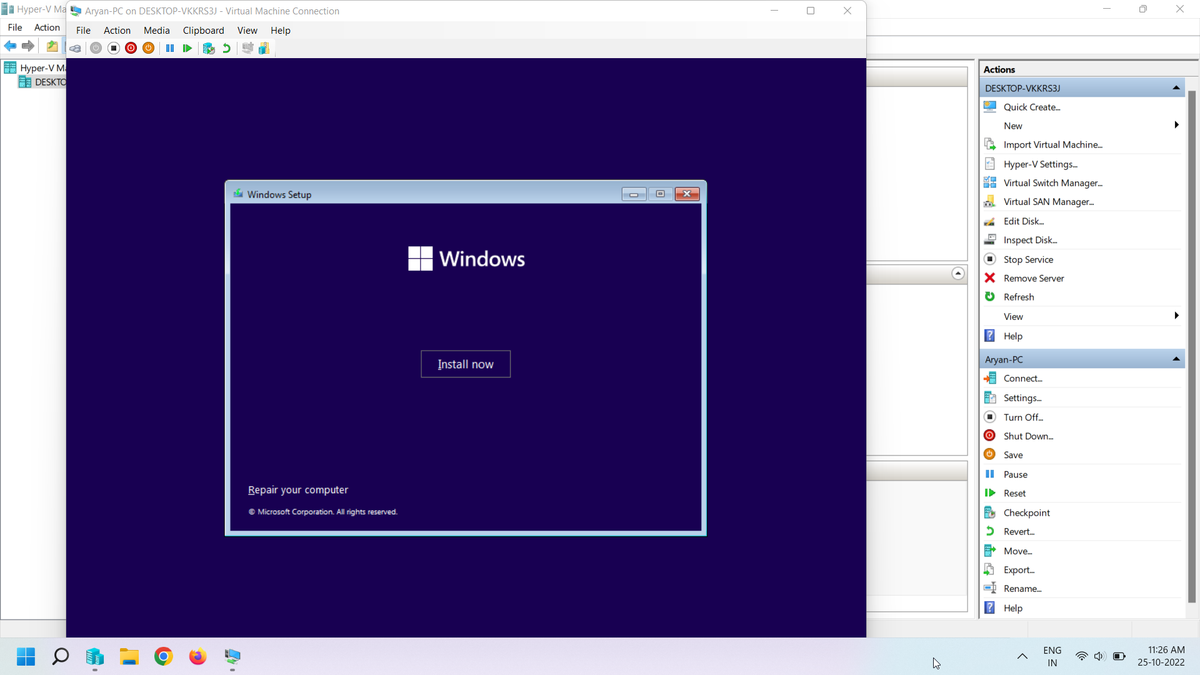
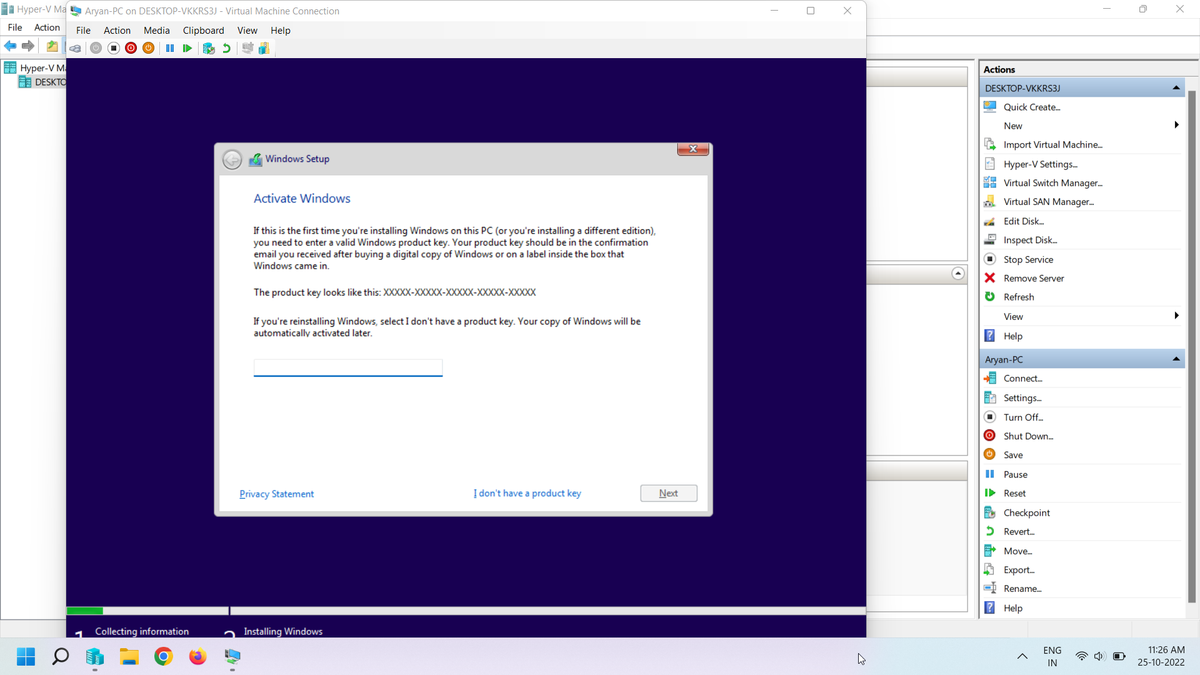
Enter your own Product Key and click on Next or skip this step entirely by clicking on I don't have a product key.
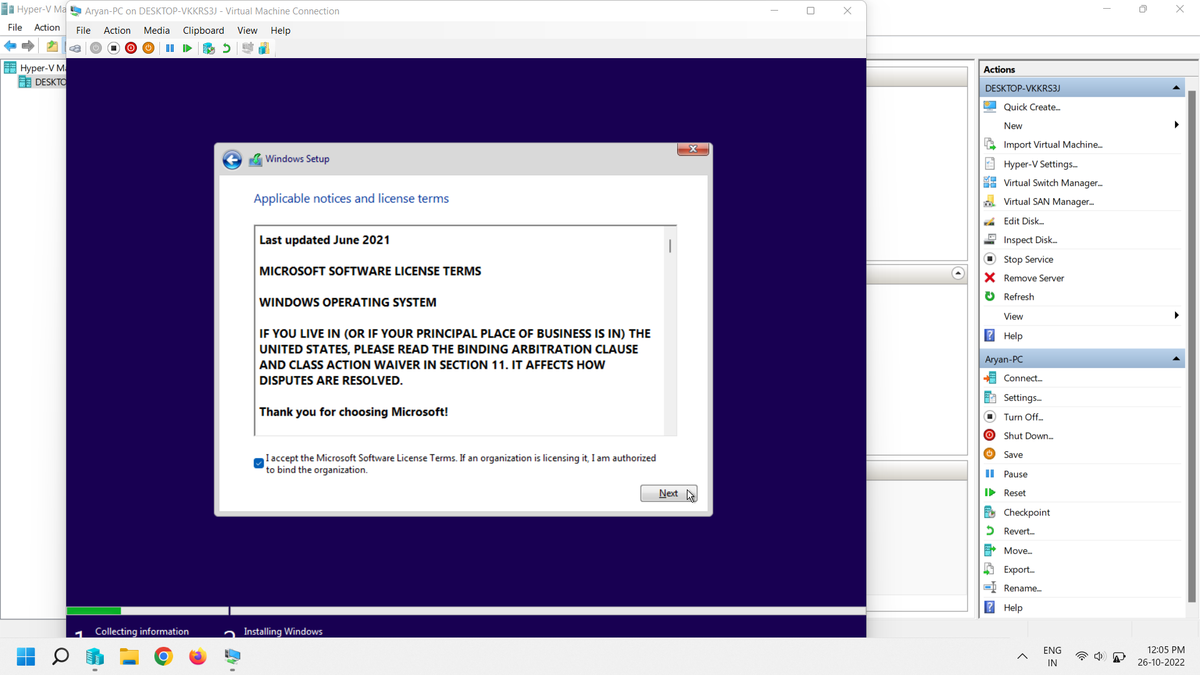
Tick the checkbox and click Next.
Once you click Next you will have 2 choices for the installation. One of them would be default and the other would be custom. Select custom for more control over the installation process.
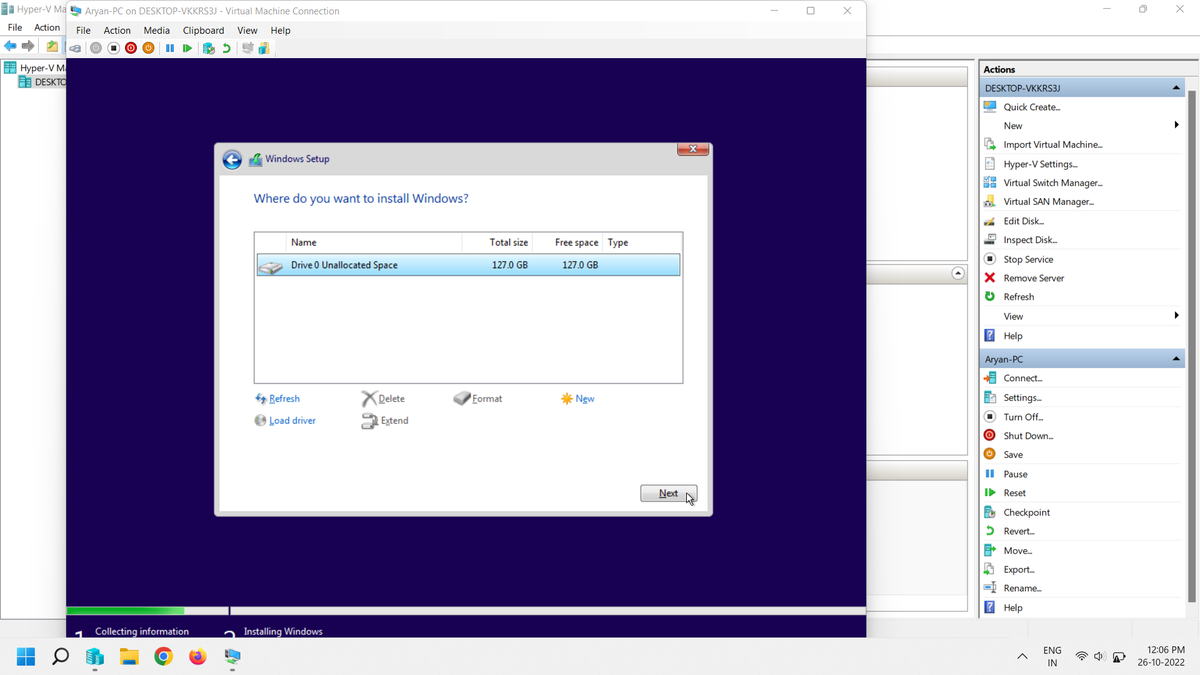
Click Next.
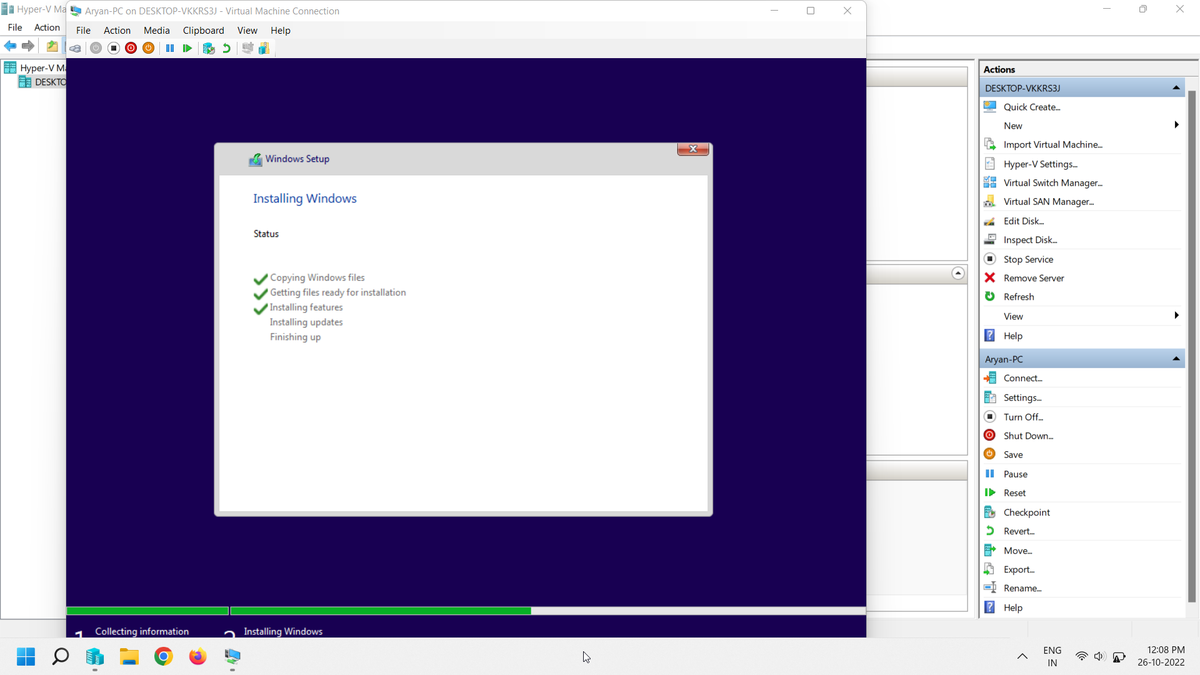
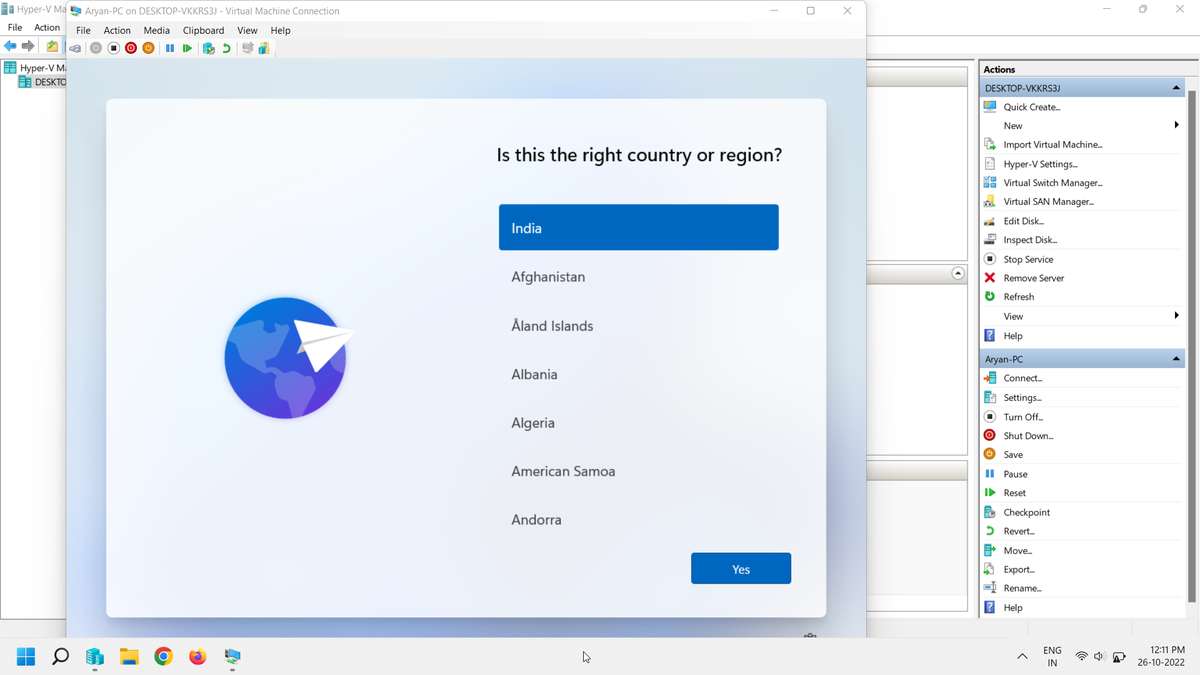
Once the installation is complete, your virtual machine will restart. After restarting the windows 11 setup begins. Step 5: Setting up Windows 11 Select your country and click yes.
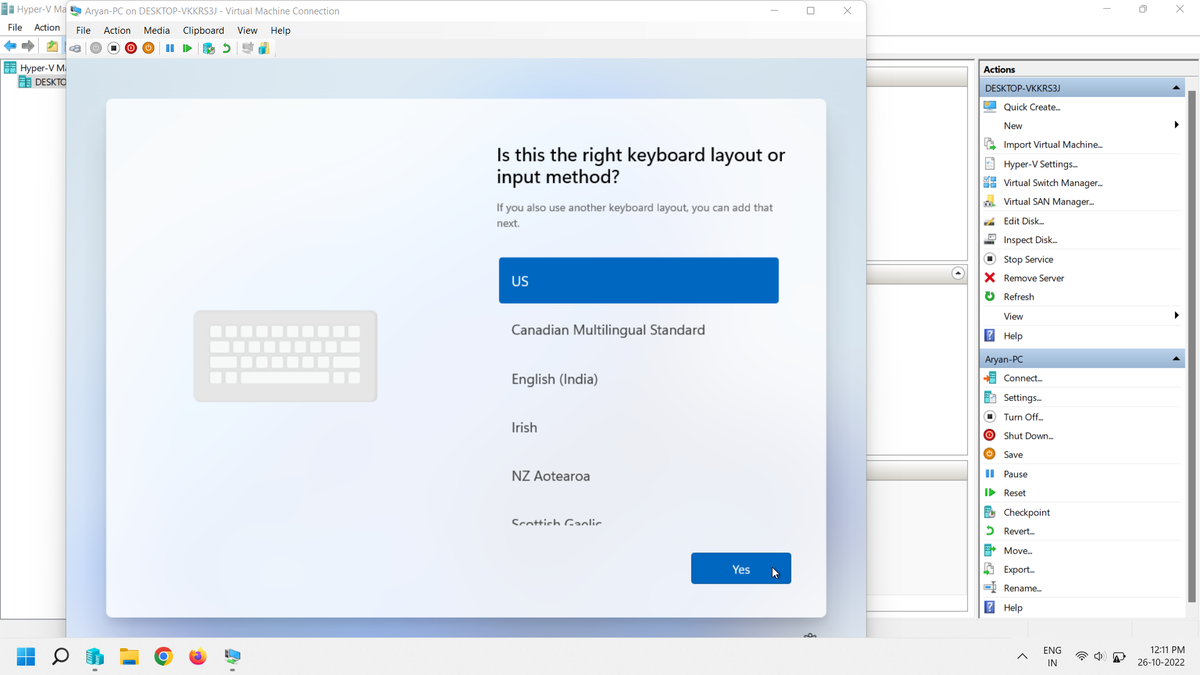
Select the keyboard layout/preferred input method.
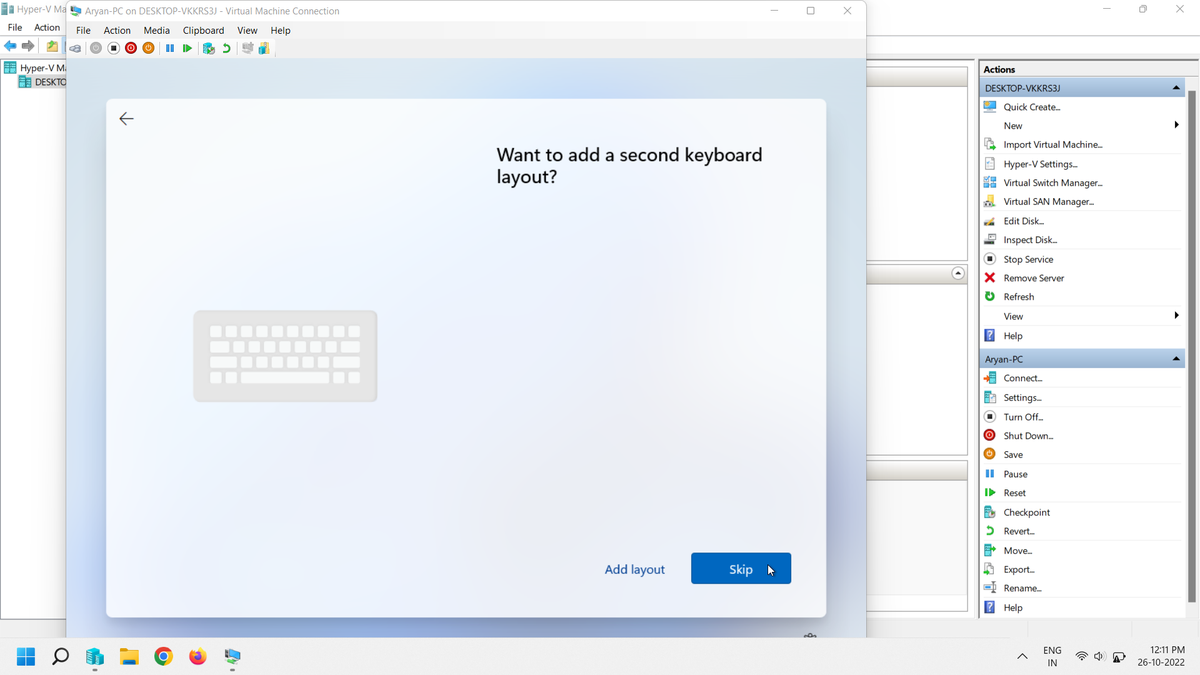
Add a second keyboard layout if you want to, or you can skip this step entirely by clicking skip.
Name your device. You don't need the same name for this and the virtual machine, I just did it for the sake of convenience.
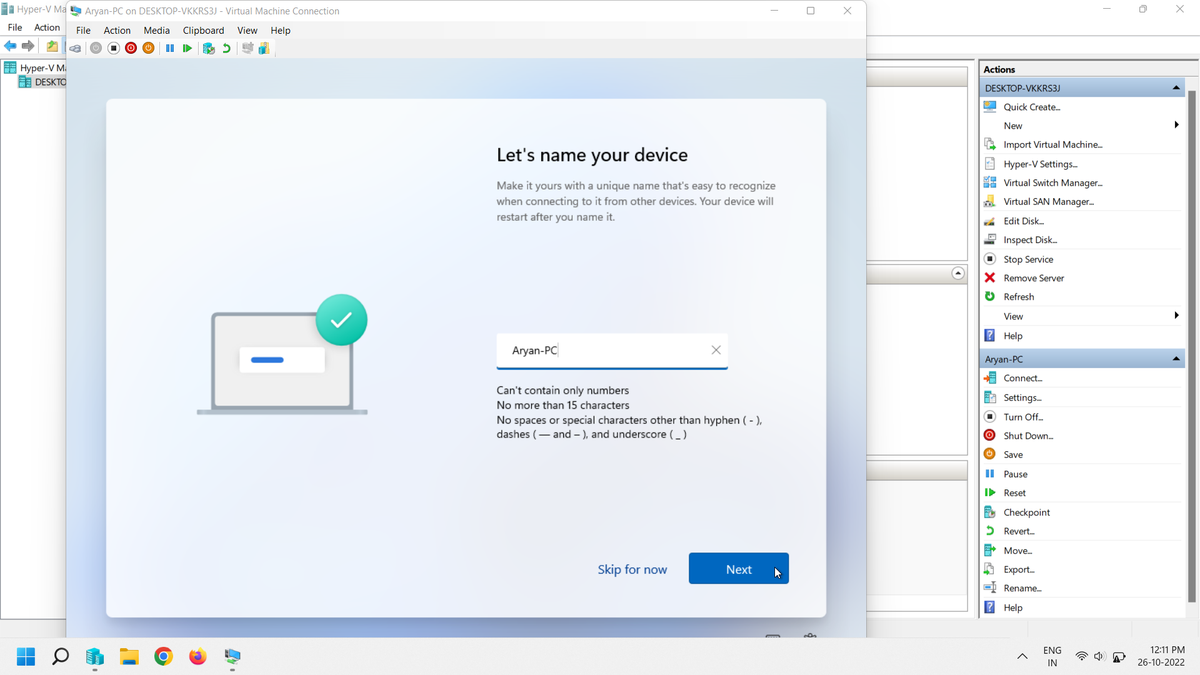
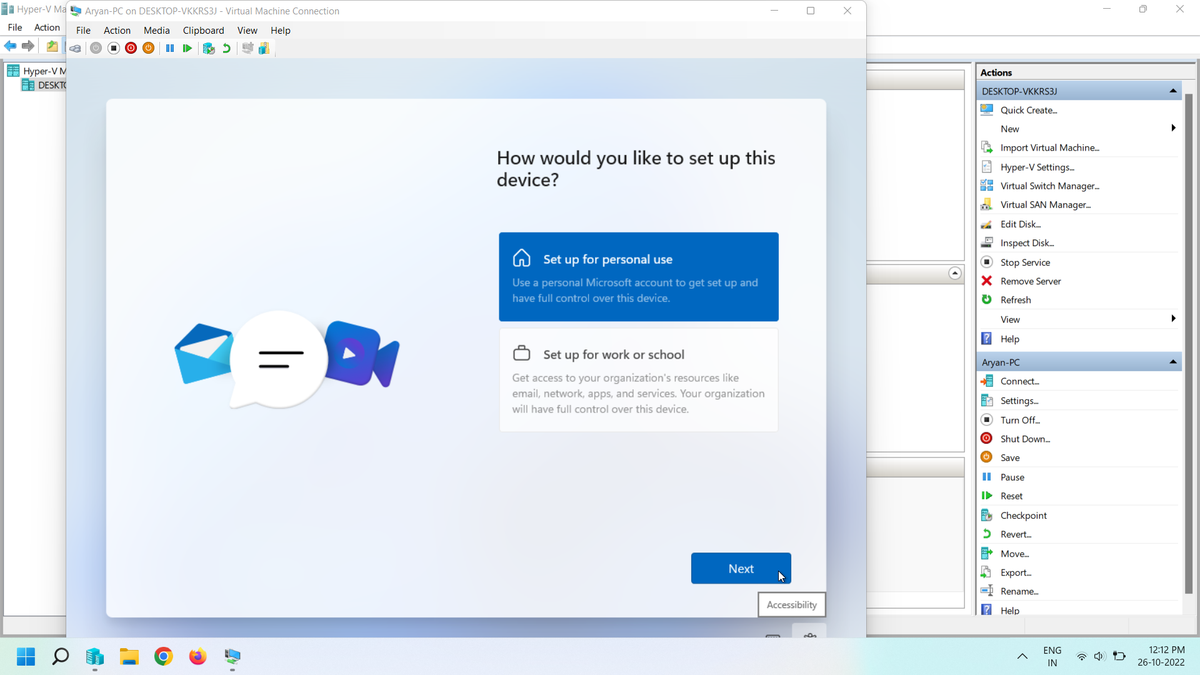
Choose the preferred option and proceed.
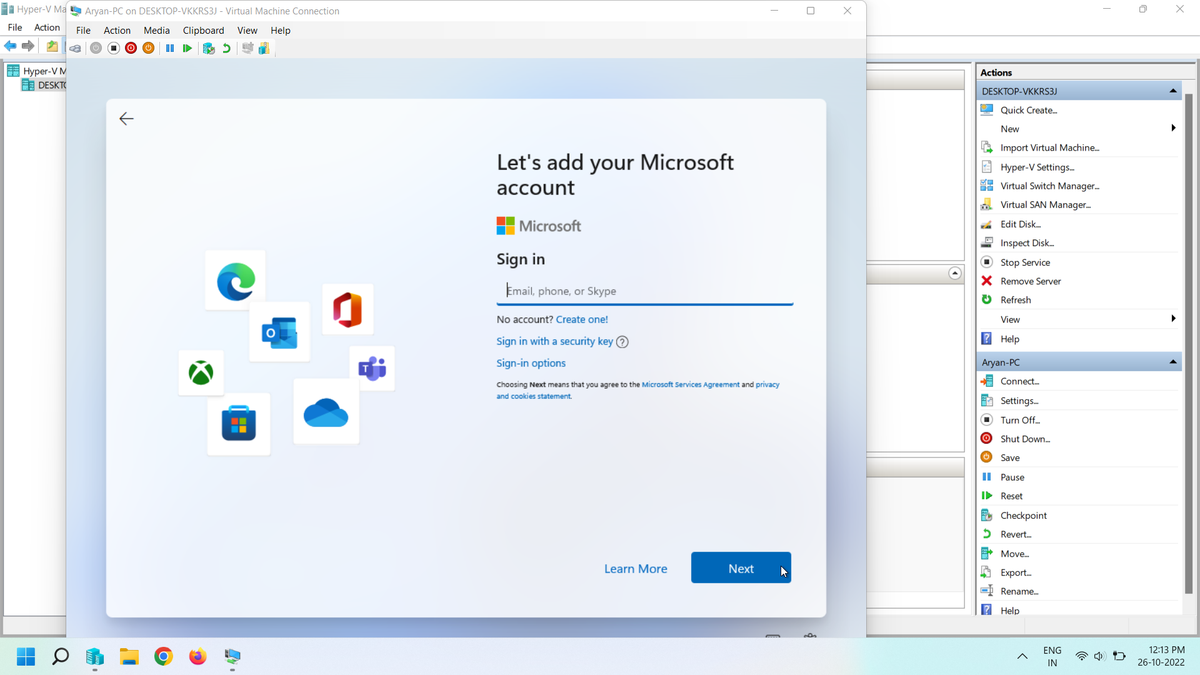
Add your Microsoft account by signing in.
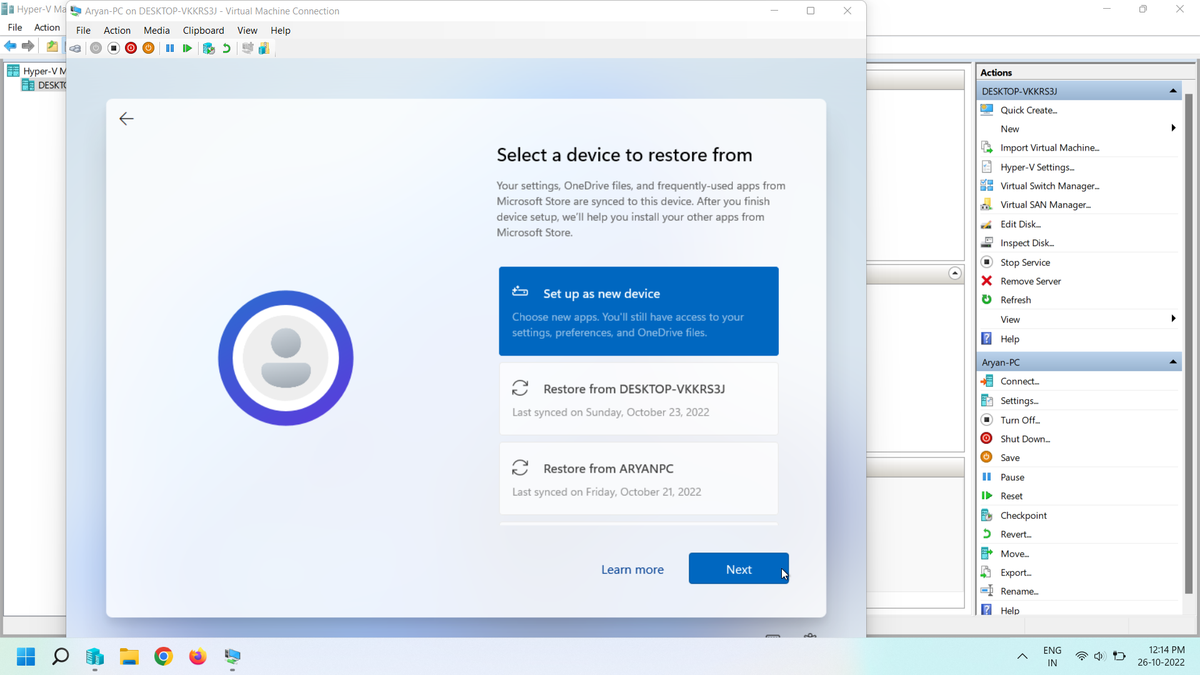
After signing in to your Microsoft account, you will get the option to restore the files backed up over Onedrive, settings & preferences and your apps which you had on a previous device with your Microsoft account set up. Click on view more options.
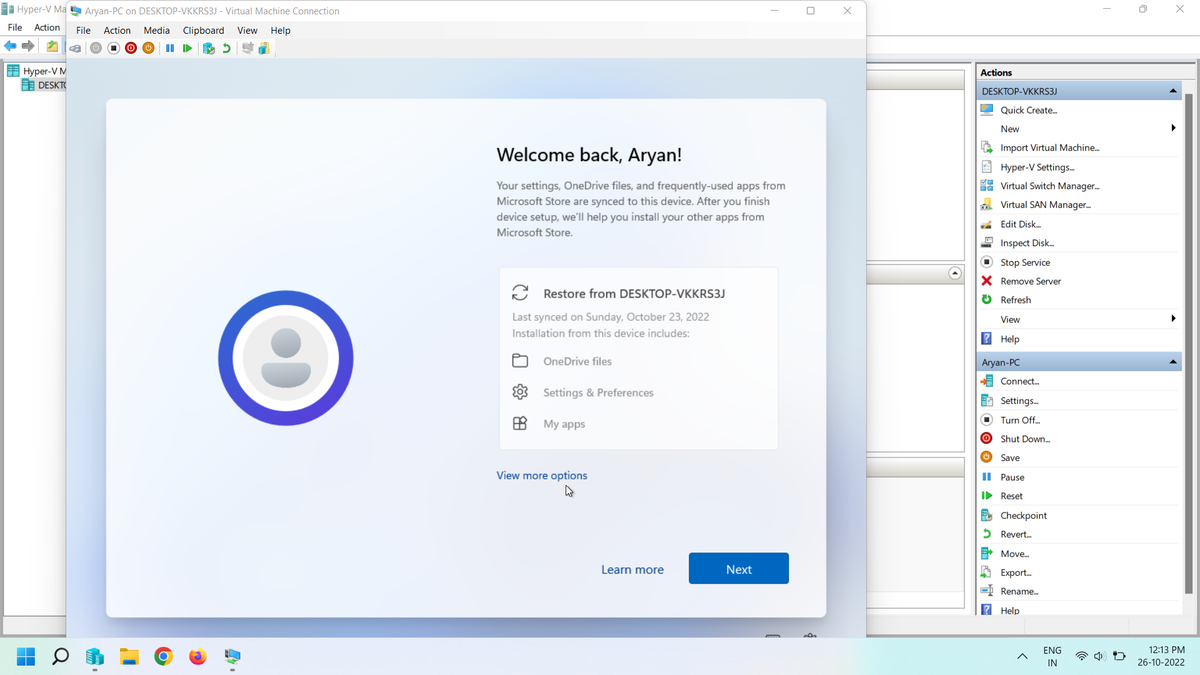
I selected the Set up as new device option, but you can choose other available options also.
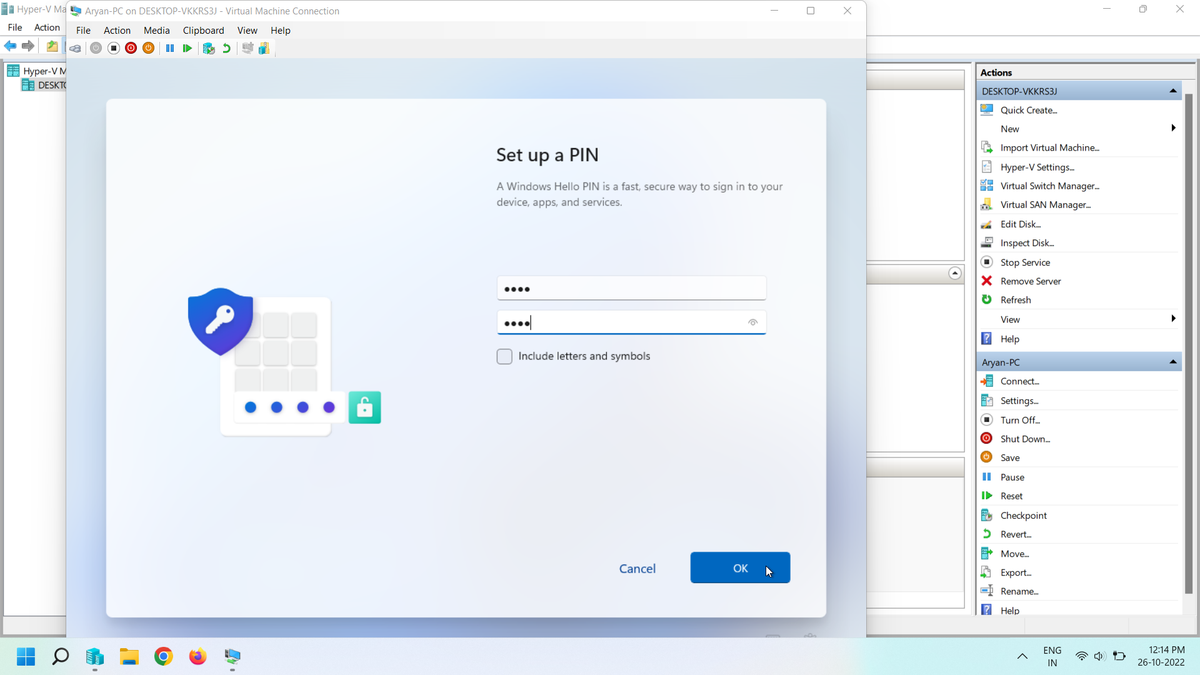
Set up a pin for this machine.
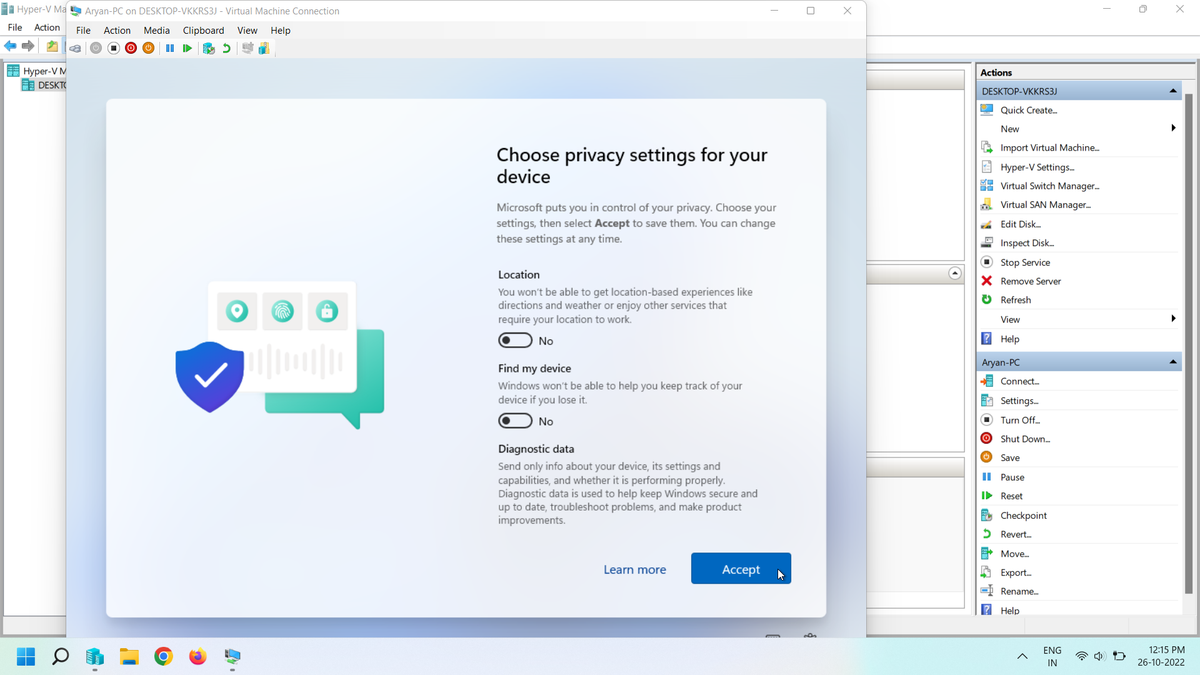
Choose the privacy settings. I unchecked all of them, but you can uncheck as many or as little as you like.
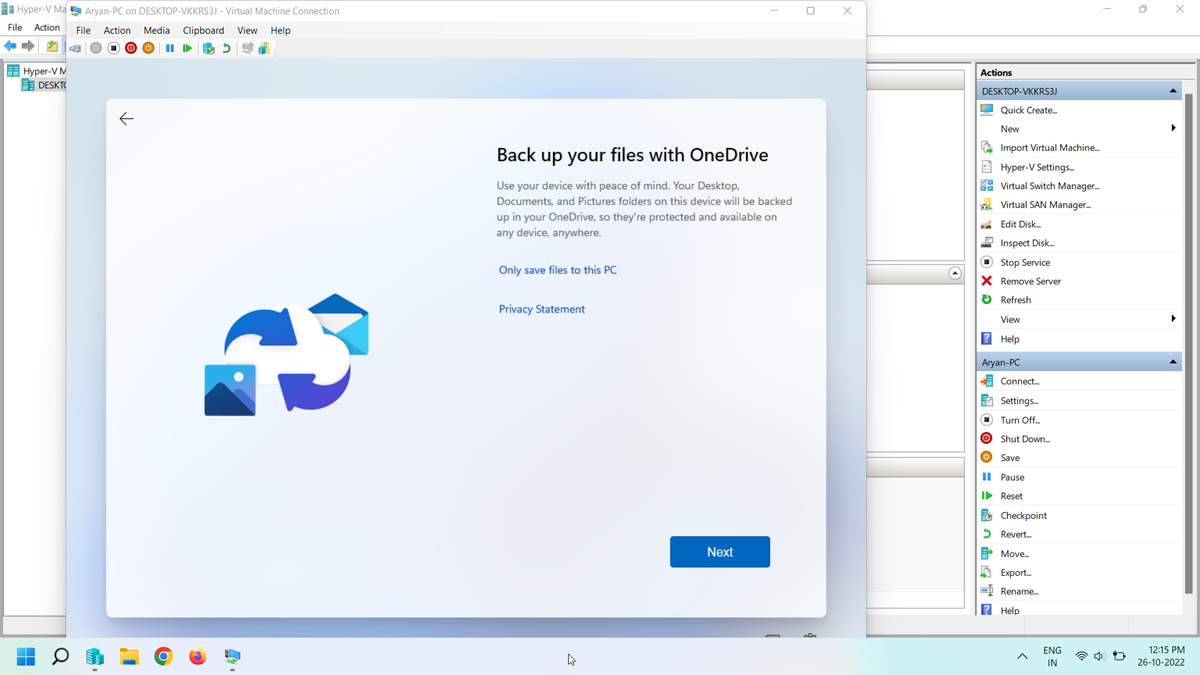
Here Windows allows you to backup the files on this virtual machine using OneDrive so that you can access them from other devices also. If you do not want to back up the files you can click Only save files to this PC.
It will take a few minutes to get everything ready.
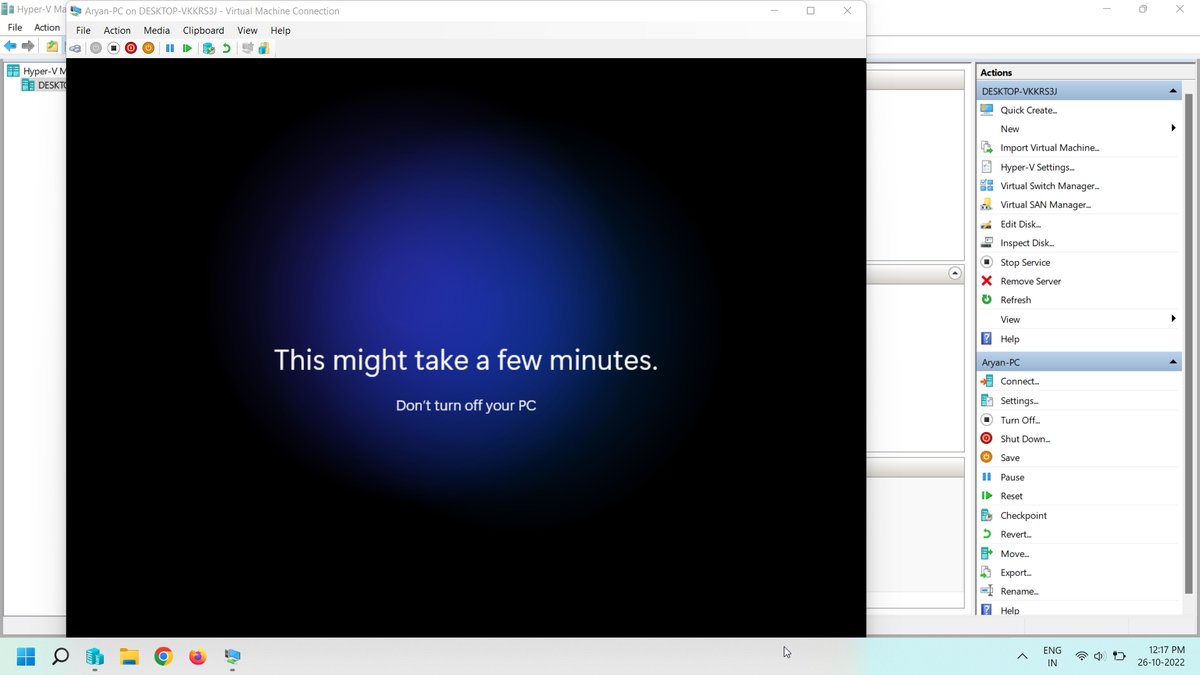
Once windows 11 loads you can choose the size of the desktop by dragging the slider.
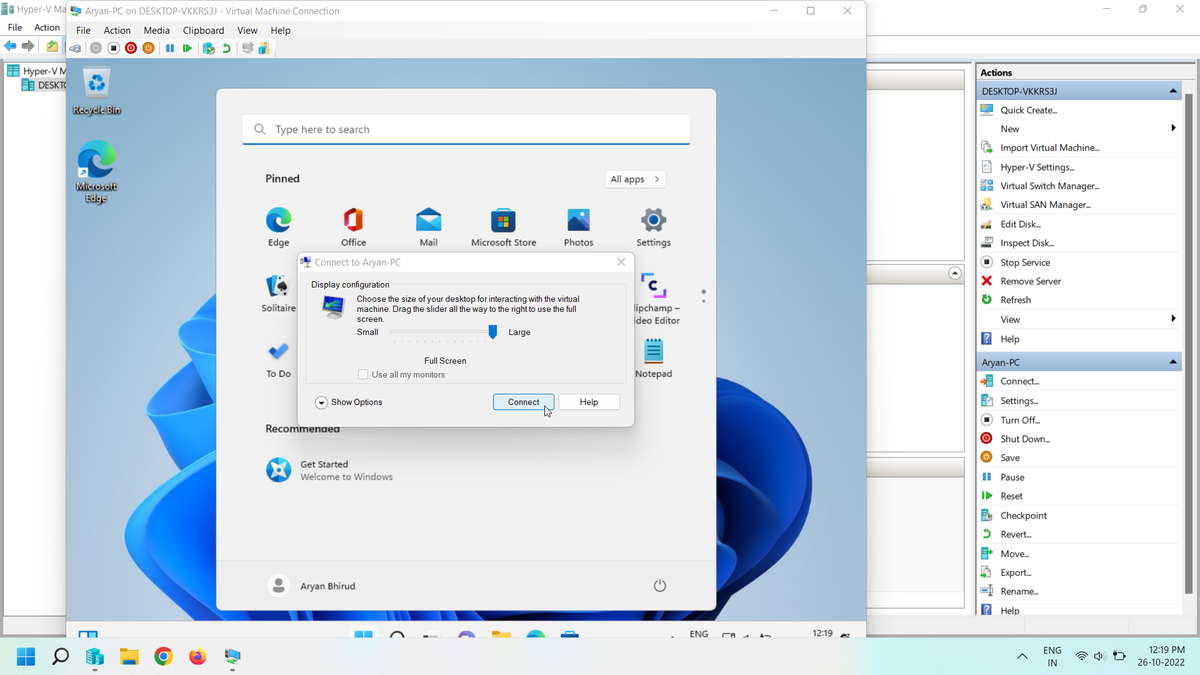
And there you have it we have successfully, created a virtual machine on Hyper-V with Windows 11 on it!